Scrap SMART- Step 4: Create a notebook that includes your album plans and timelines for each project.
Putting together a notebook to organize your brain makes a huge difference! There are a lot of details to think about and once you have figured them out, you want to record them, so you can reference them easily. You will LOVE this little notebook! What teacher did your child have in second grade? What year was that trip to the Mexico? You only need to look that up once and write it down. Then as you are sorting photos you can easily group them by year. You can use any notebook you would like for this, but make it pretty so you like to look at it! You will want to keep this with your scrapbook supplies and photos so it is easily accessible.
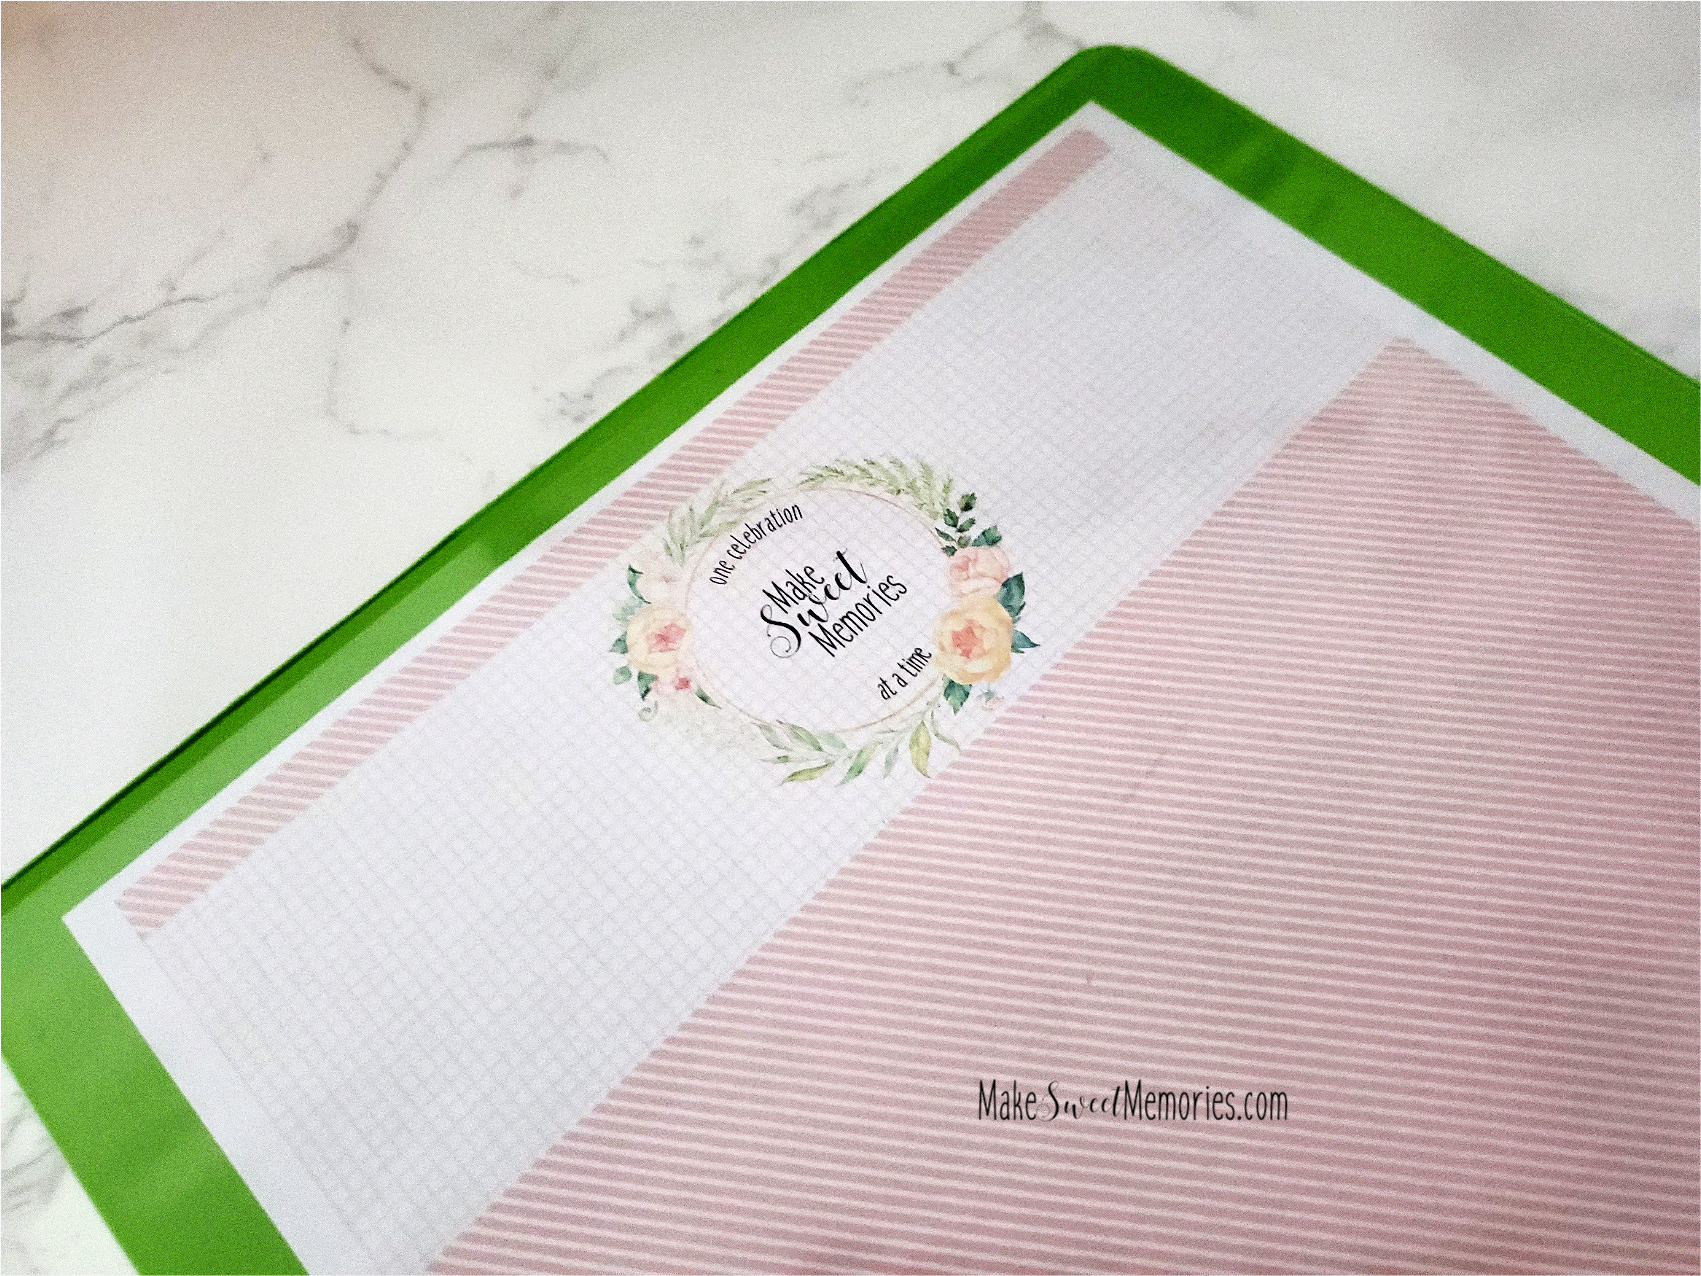
I have done this a couple of different ways. I have a generic planner with dividers I found at Tuesday Morning for about $10 and shrunk some pages down to fit this size. You can look around at places like that or just grab a 8.5x11 size, 3 hole punched type notebook to put your forms in. I found a green notebook here and added some pages and tabs to it. I kind of like the extra space it gives me. Whatever works for you- just make it something you enjoy looking at!
I like having dividers so I can keep things organized within the notebook. You may want a tab for your first few projects. I made up a simple form for you to print (click on the button below) and use in your scrapbook notebook. These are meant to be more generic so you can personalize them to fit your project needs. You will want to make copies of this and put it in your new notebook! Print off a few sheets for notes. I would use a pencil and write down how old they are each year, who their friends were, activities they were involved in, what grade they were in, etc. Or if its a vacation, use the smaller columns to write DAY 1- Day 2, etc. and what you did each day. OR if you decide to sort by themes, list your themes on this page, such as Birthdays, Halloween, Sports, Time with Mom, Hanging out at home, Time with Dad, Siblings together, Christmas through the years, etc. Group those themes as you gather your photos to see what you take a lot of photos of. Remember the everyday moments- pictures of your house, your room, gathering in the kitchen or yard.
Once it is written down, you will refer to this often, especially as you sort photos. If you don’t do this, you have to re-think it too many times and it will tire you out needlessly. SCRAP SMART!
These are the tabs I created:
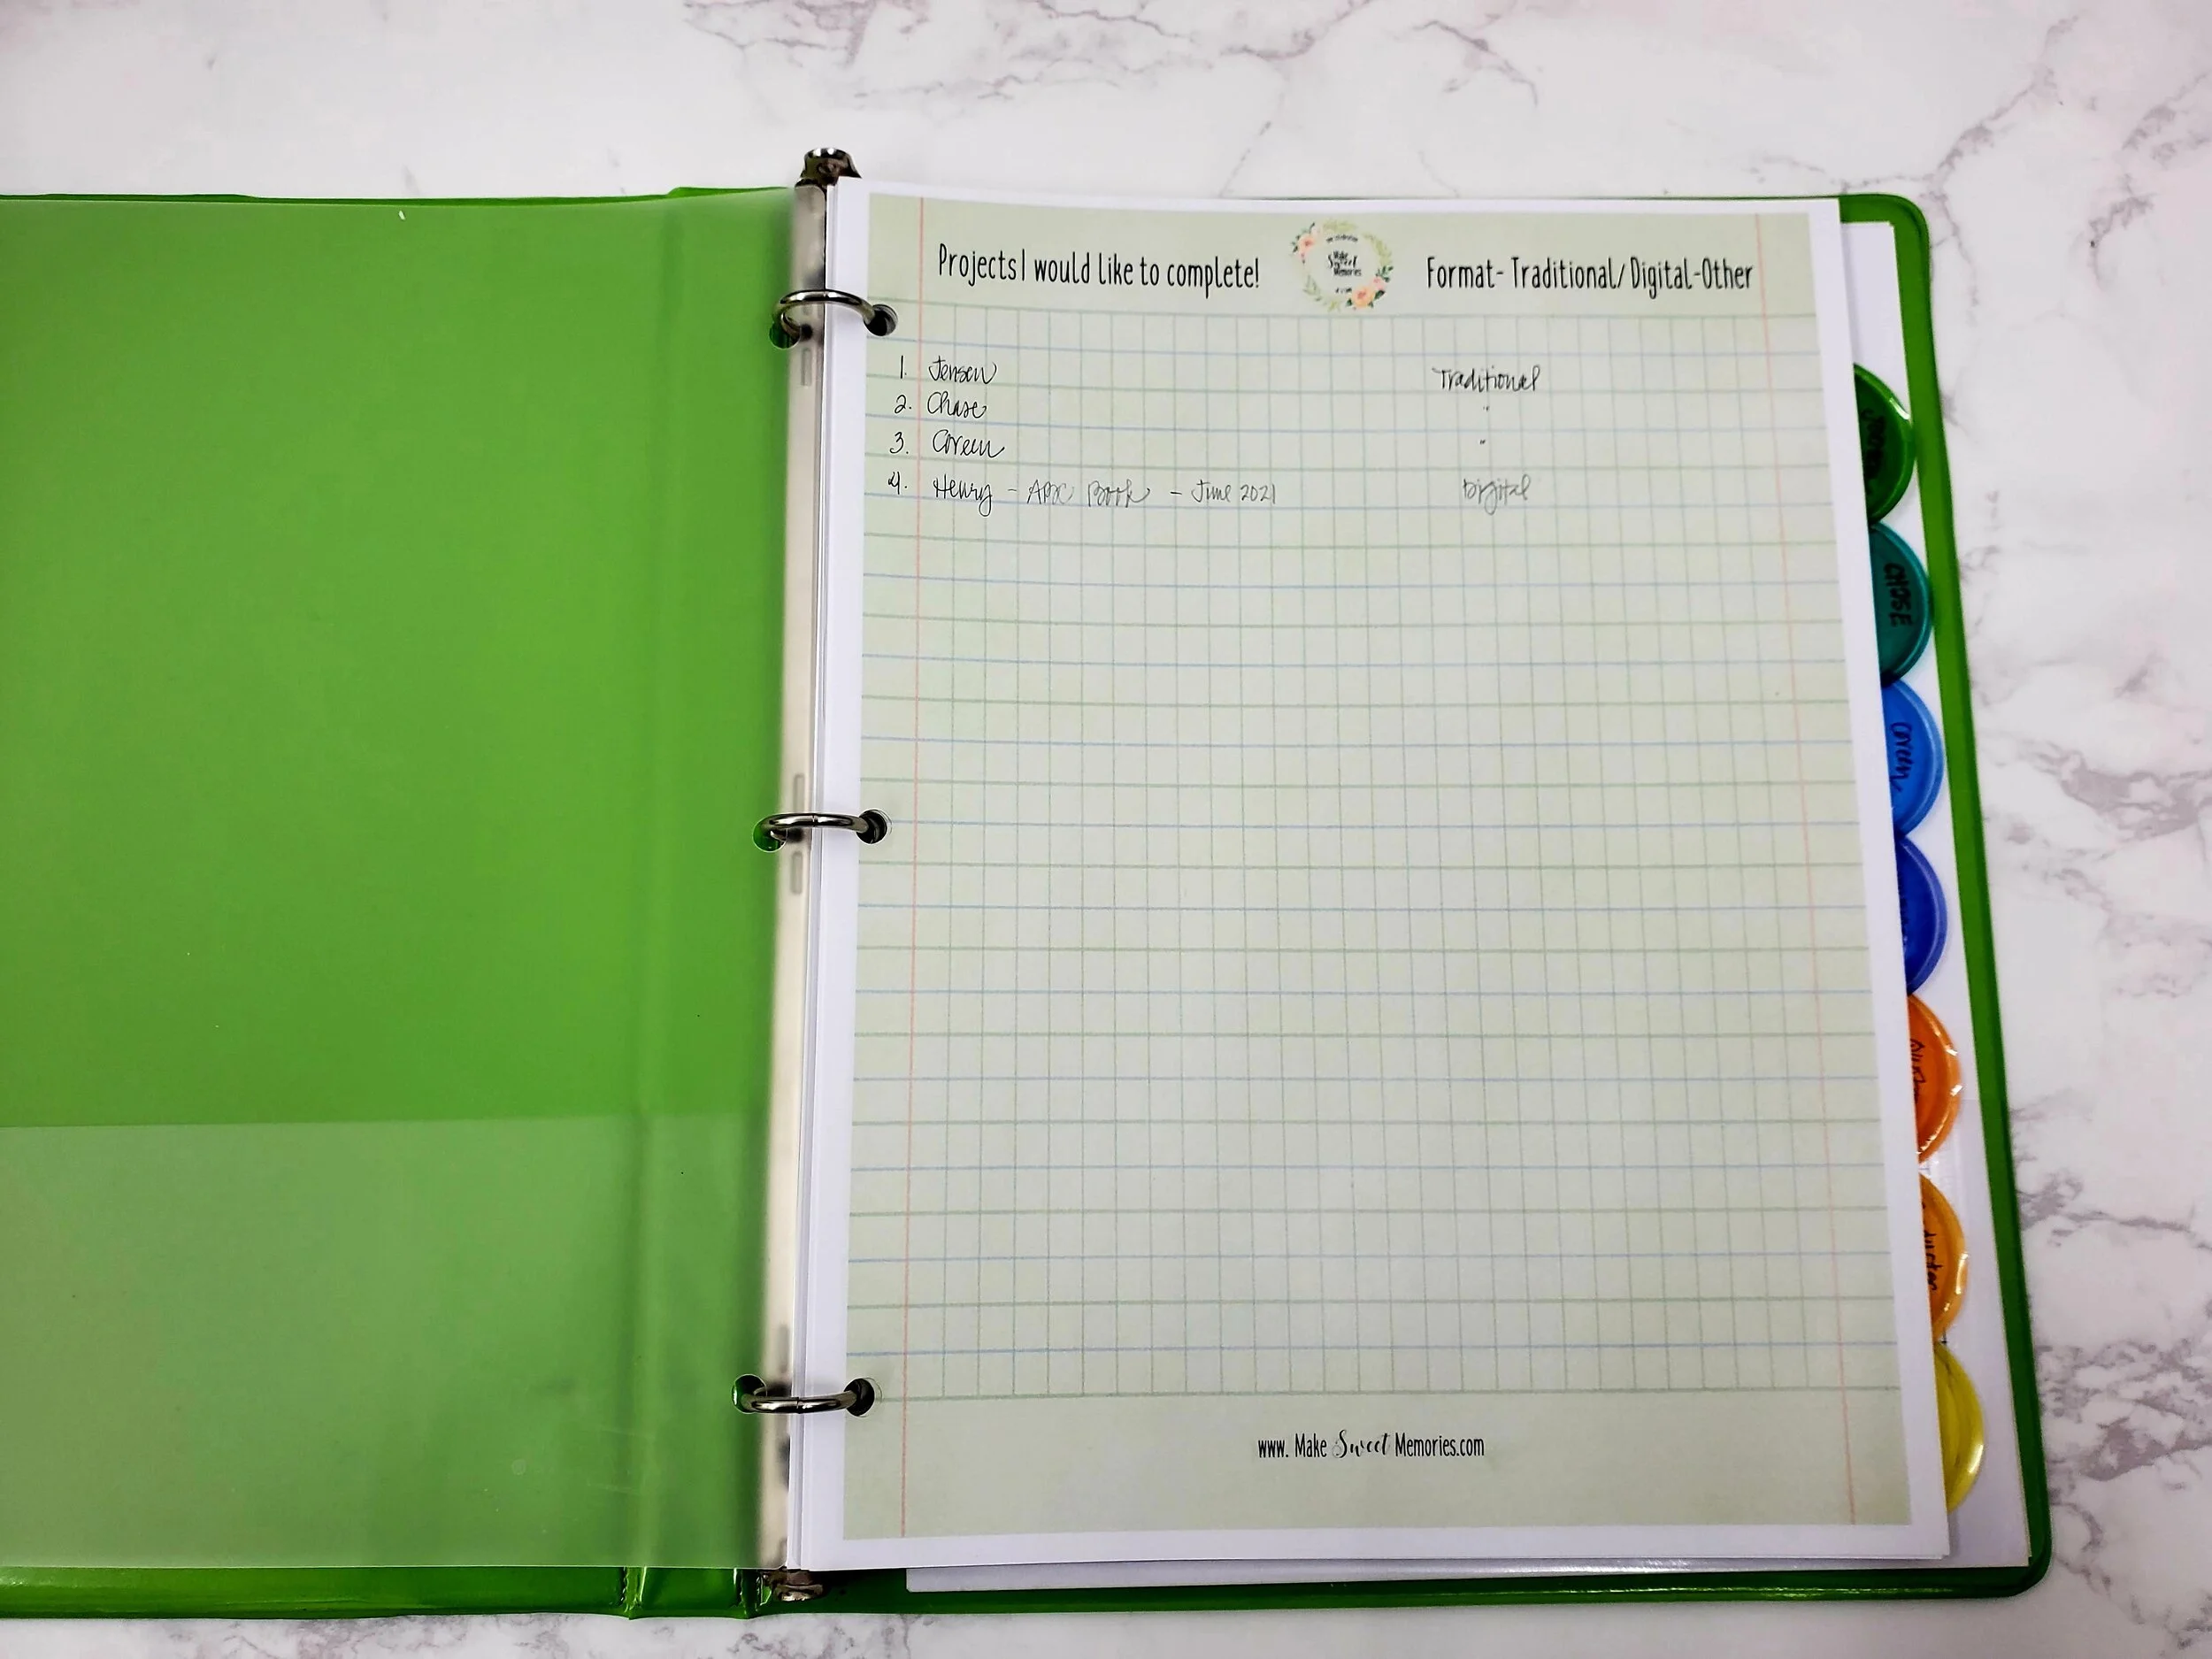
Projects: This is where I can write my list of projects I would like to complete
The names of the 3 or 4 top projects I will be working on: I will include a time line for each one
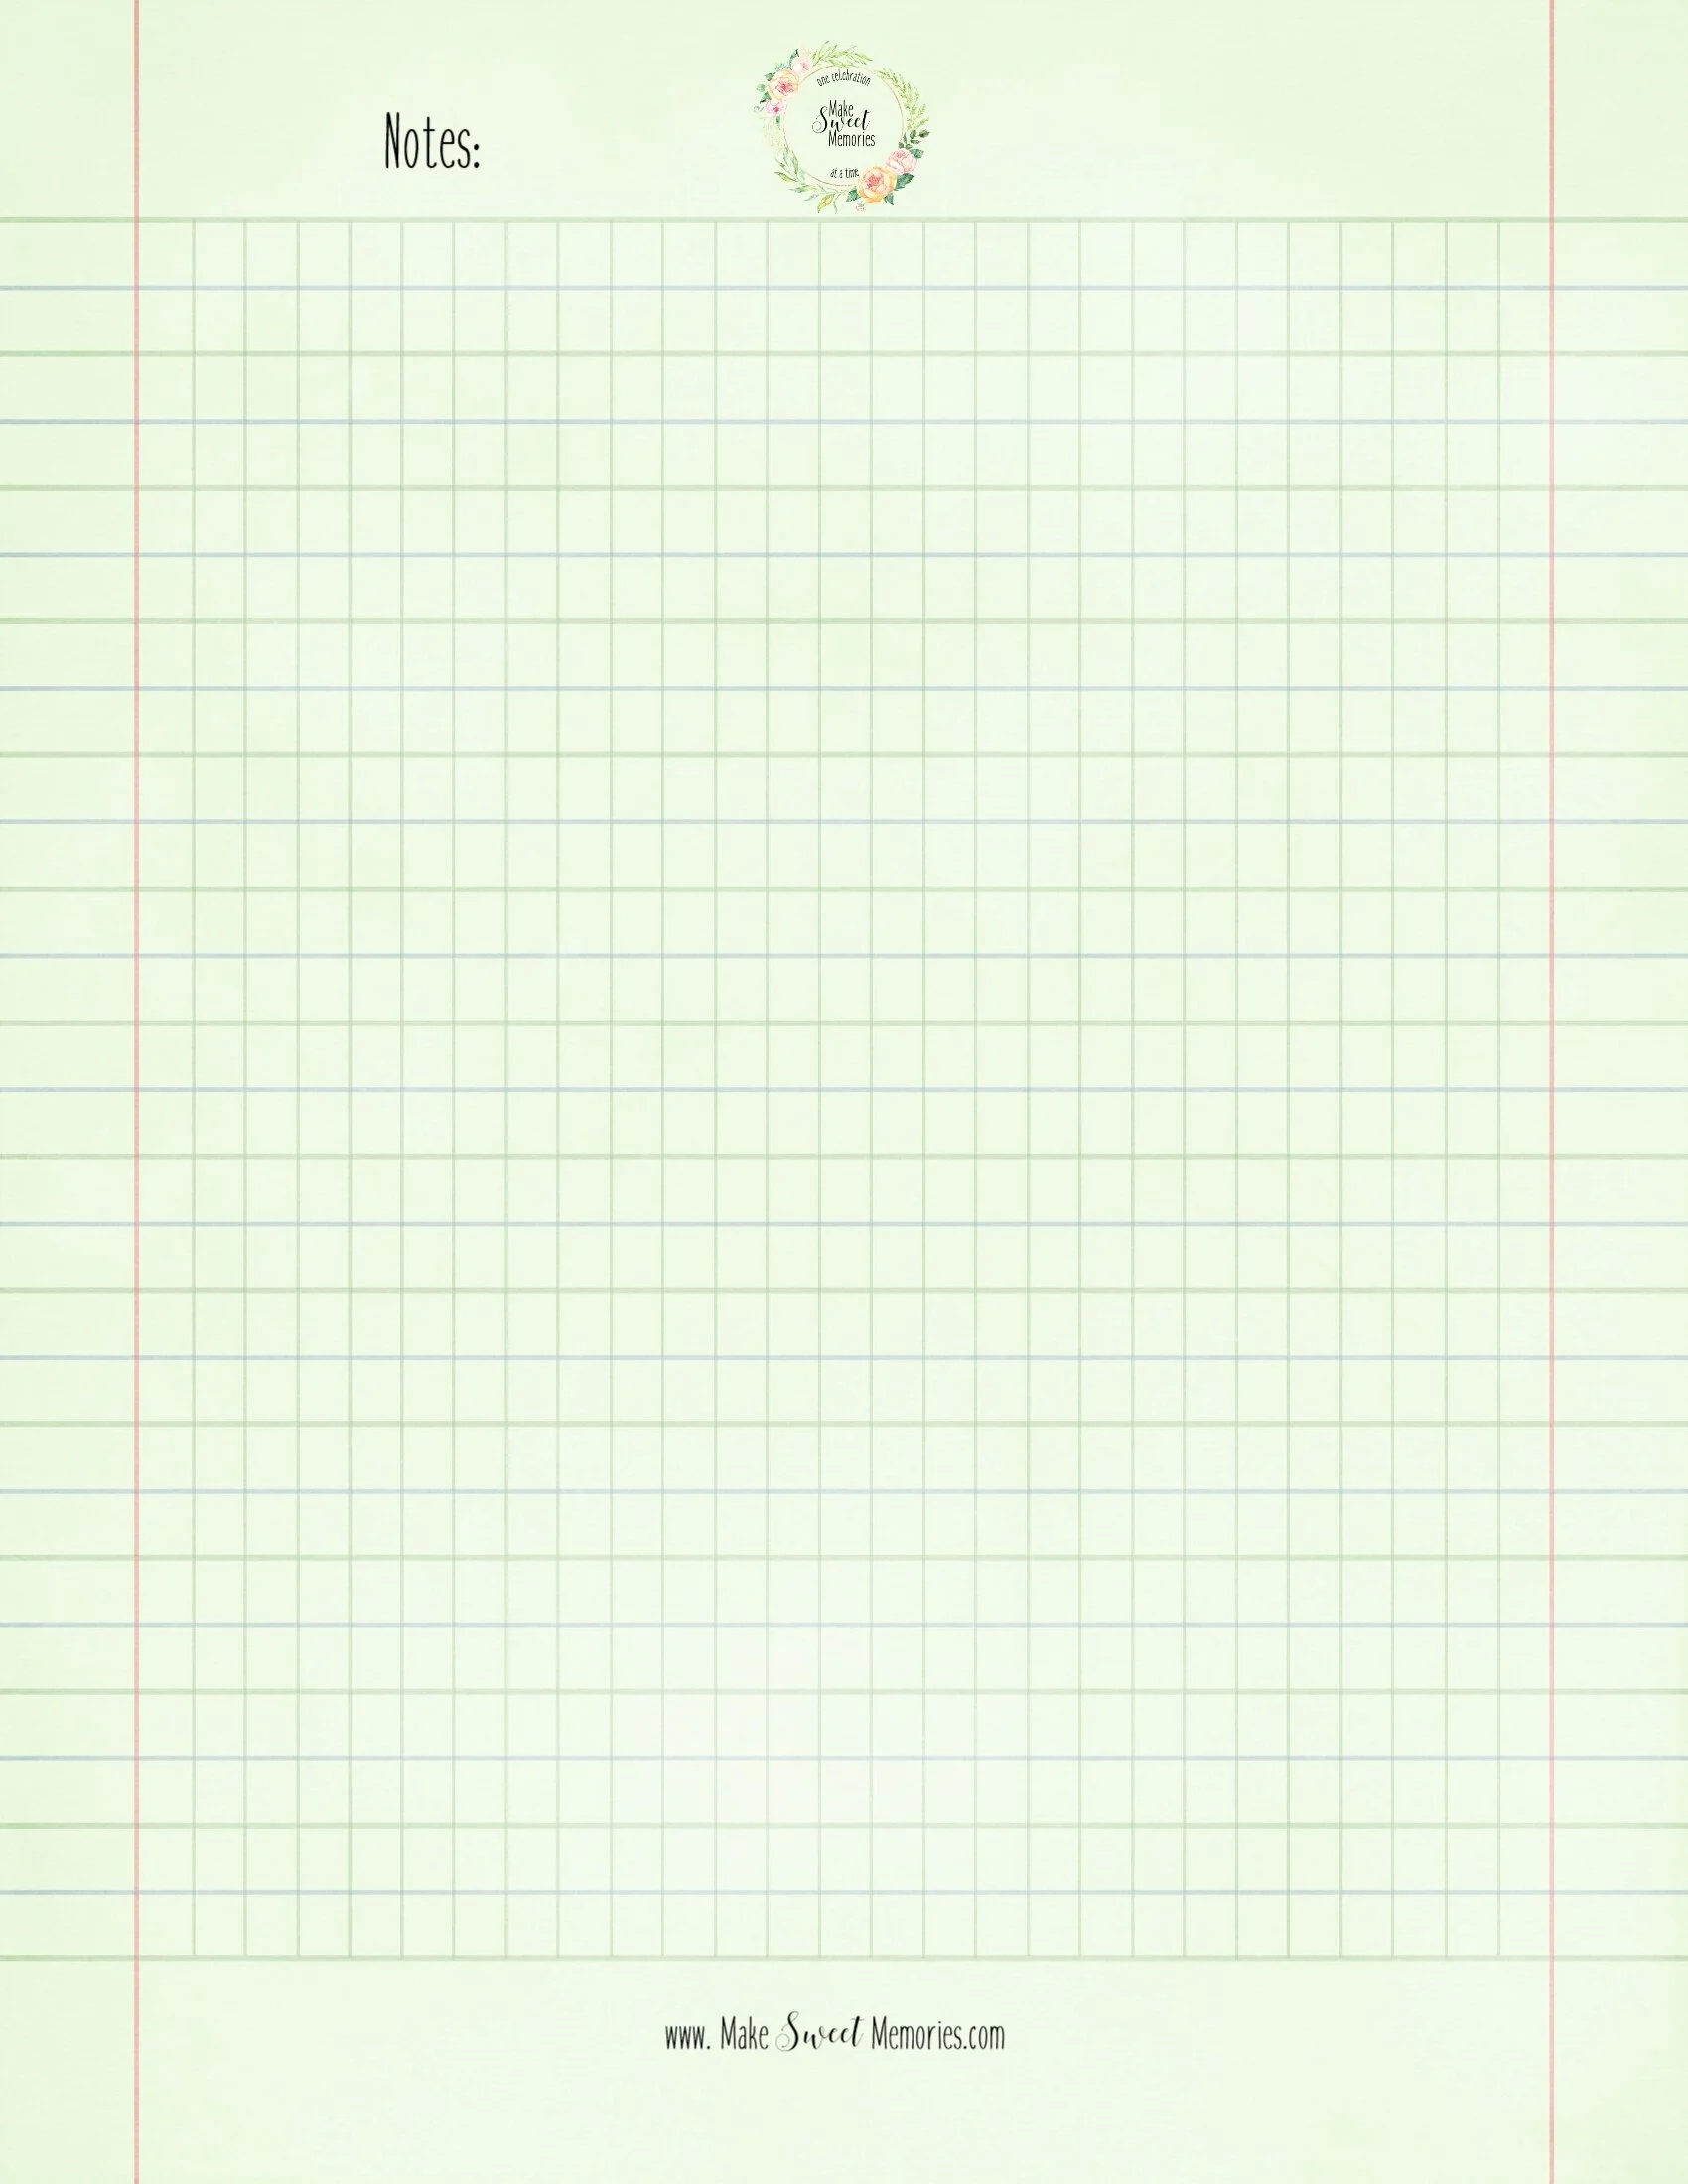
Notes: Quotes-Ideas-Journaling tips:
Products and WISHLIST:
You may add layouts you love- or create a file for those on your computer and print them out on a page later. Make this work for you!
Whenever you have a thought, this is the “home” where you jot it down. A page to list the albums you would like to create and what your priorities are is a great way to start! You may want a page to list products that you need so you remember what you need to order. If certain thoughts come to you that you want to include in your album, jot them down here. Maybe you find a great quote you want to use. This is where you jot it down, so you can find it when you want to use it.
When you stop and start on your project, you can lose track of what you were thinking the last time you sat down. Simplify the process by writing things down for yourself. This is your SCRAP BRAIN! You will be so glad you did this! It relieves you of a lot of stress and clarifies your next step. (Complete Step 4 before moving on to Step 5!) This is what my notebook looks like to give you an idea of where to start!
Print off your own copies on the link below.

You can use this form in several ways, for kids, for vacations, for themes, however you sort for your projects. Print as many timeline forms as you need.

You can add any type of forms you want to your book. This is one I am using for my grandson’s book. There is a form below to add any notes you want to make. I use it for quotes and journaling ideas, anything I don’t want to forget about that project!
You can print a Products and WISHLIST form to jot down what products you would like, making notes for your next order. I do this all the time so I won’t forget just one thing!
I use this form as I work within a project sorting digital images so I know what is edited and printed. This way when you stop and start, you can easily jump back in and know where you are!