How to make a TITLE or END Page for your scrapbook!
Have you ever wondered what to put in the front of your scrapbook? How do you start it out? There are many options for this, and it can be hard to choose! I often put aside my “Title Page” until the end of the project and think about it while I am working on my scrapbook. How do you end your scrapbook? Have you thought of having a signature page? Here are some simple ideas to get you started. They can be recreated using these formulas with any theme in mind.
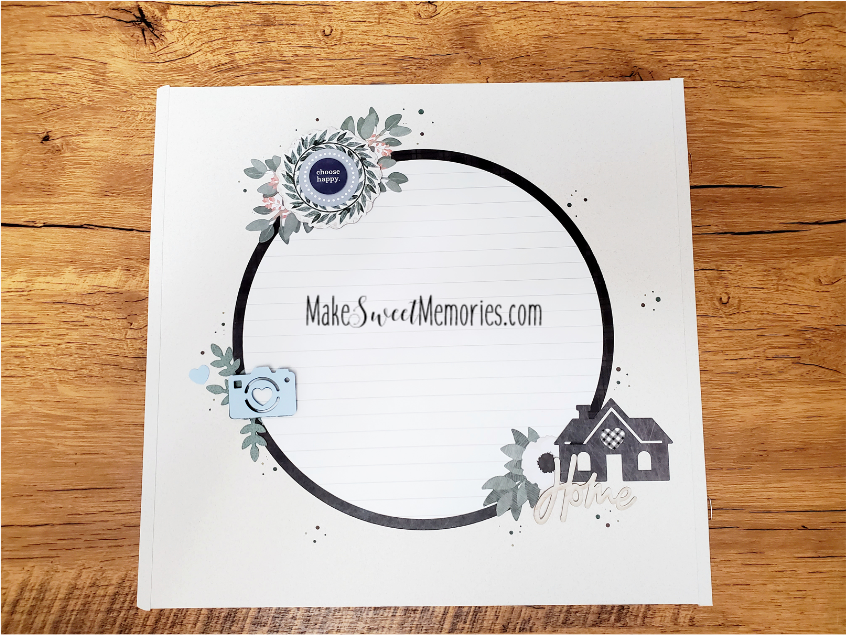
This page could be used either at the beginning or the end of your scrapbook! I used the darling LASER CUT embellishments from the HOMESTEAD Collection. They are so easy to layer and there are endless combinations! I love predesigned embellishments, they add just the right touch to your page! You can get those here. There are 30 to a pack! I love the LASER CUT BORDERS too! They work together so easily! I used the Jumbo Circle Template from the cutting system and cut a circle on the inside track with the red blade. I wanted to have room for those cute embellishment pieces so I used the INSIDE track. I cut the lined designer paper with the same template and on the inside track but with the blue blade, so I would have a cute edge showing of the darker paper. Make sure your journaling paper is lying straight on your cutting mat. This gives you a nice background contrast and you have the perfect place to tell your story!
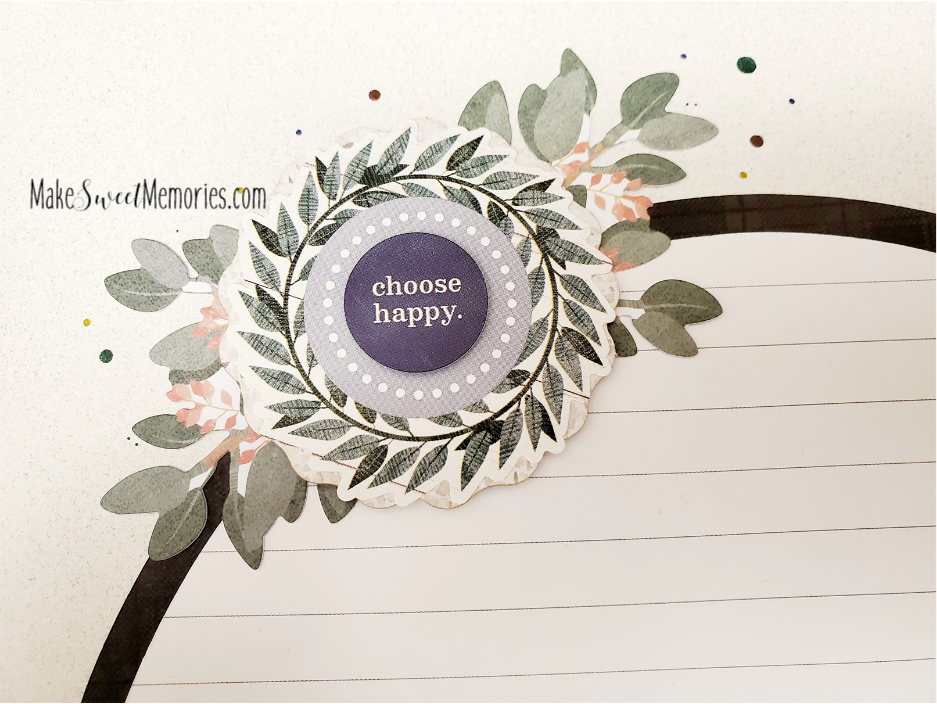
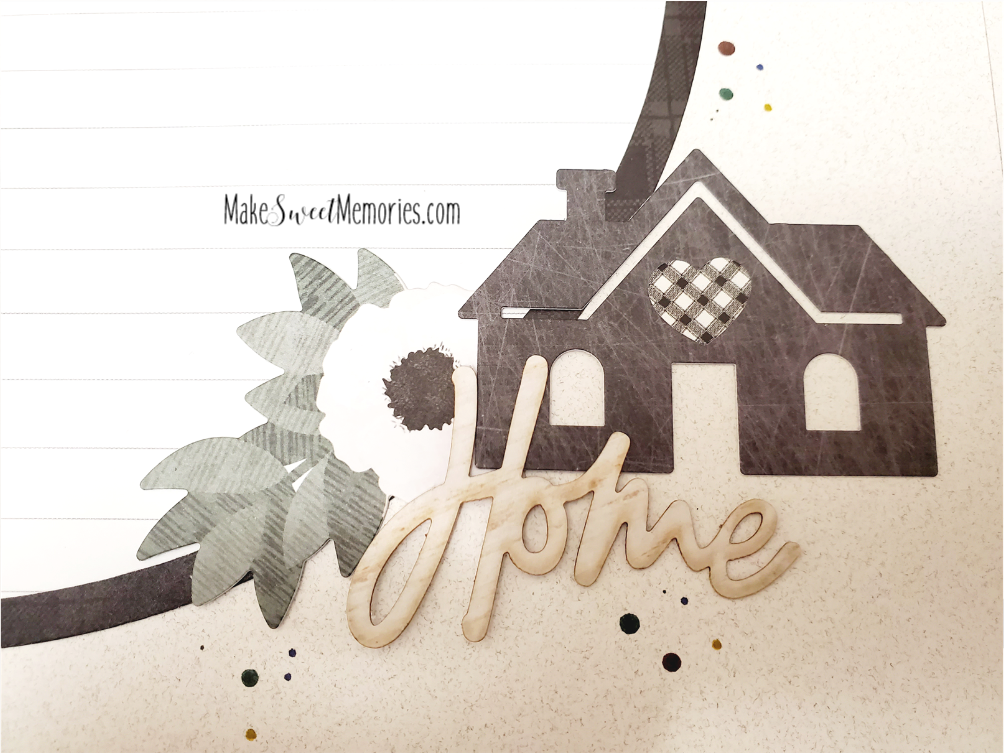
These HOMESTEAD stickers layer beautifully! I popped some up on foam squares to add dimension. There are darling pieces to choose from, I especially love the WORD ART stickers!
I used the DOT PENS in navy, green, brown and gold to accent around the outside of the circle.

I used this curvy HOMESTEAD LASER BORDER and flipped it over to the lighter green side and pieced it under the journal paper and added a CAMERA punch. You can use little bits and pieces of things as you need them! You don’t have to only use it as a 12 inch border. It curved right around the circle. I started with a green camera, then wanted to bring in more blue, so I laid that one on top! It is a nice design element to group in odd numbers, so these 3 clusters do the trick! They soften the edges without overpowering you.
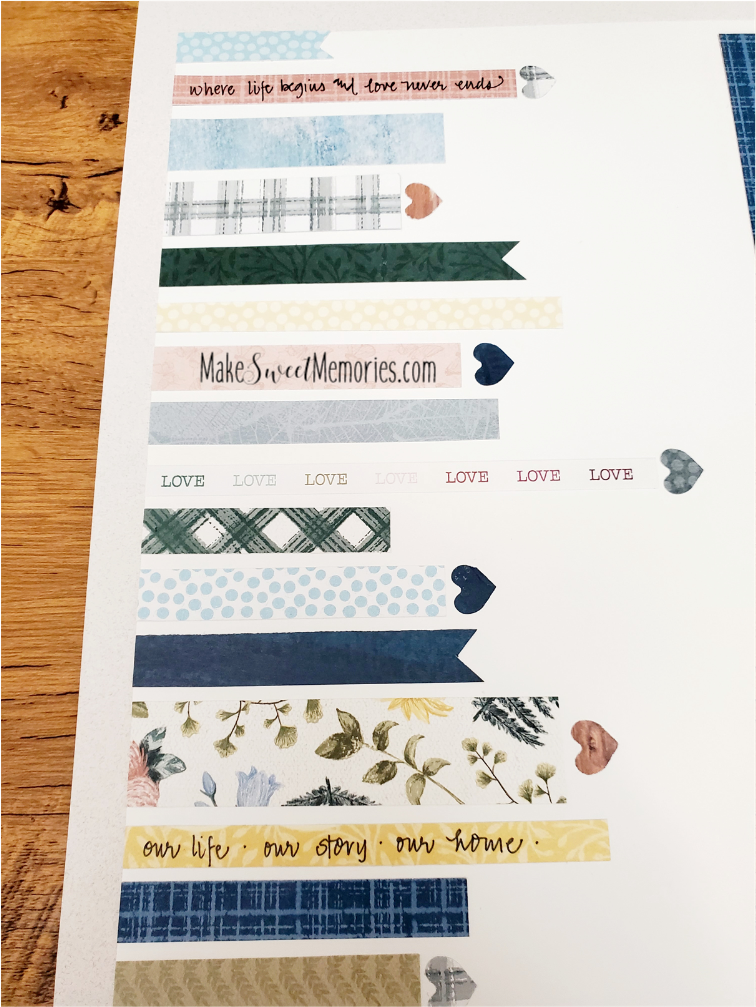
Another idea is to use up your scrap papers and add them in varying widths and lengths to a page. For this page, I used white cardstock as the background and the SPRING COTTAGE Collection.
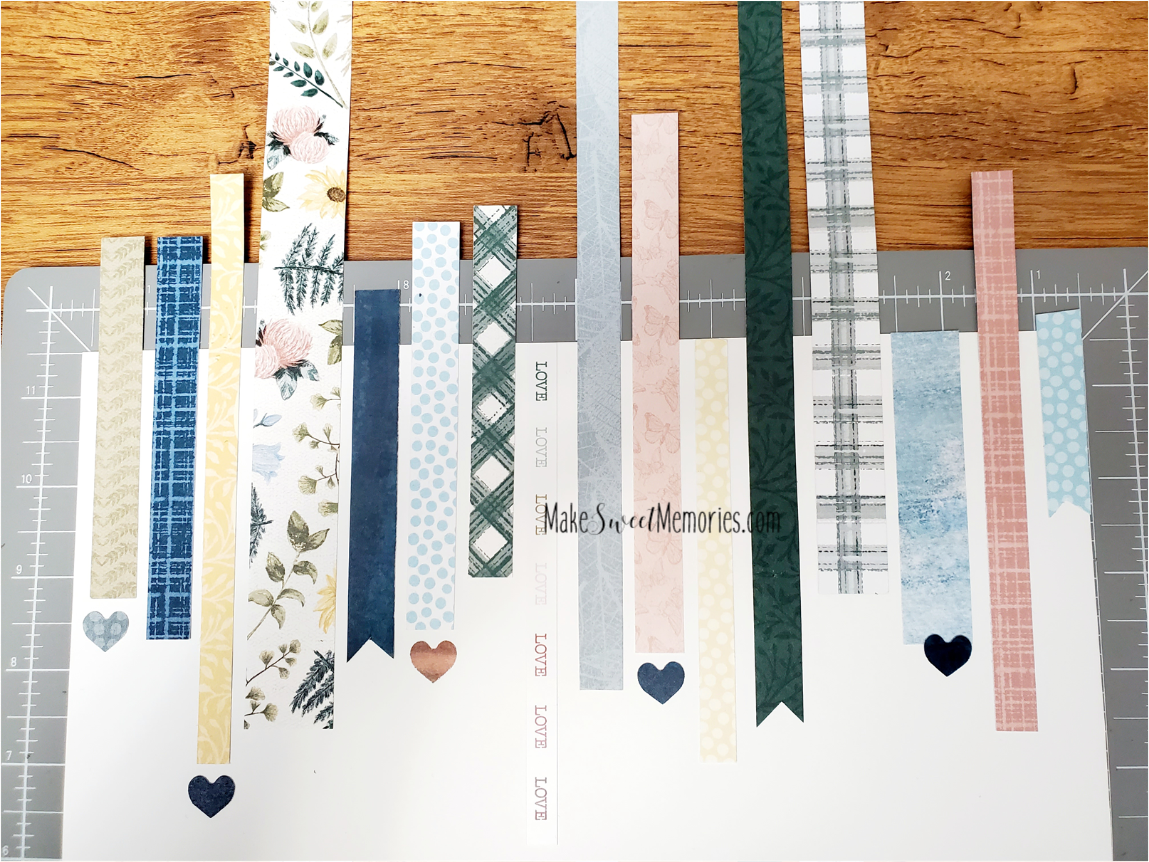
I lined them up on my cutting mat so I could space them and keep them straight, and popped on some hearts from the Heart to Heart Border Punch. I used the inside heart because it was the perfect size! Notch the edges to a few of the pieces of paper and you can even write along the edges if you like! I turned the paper over and the excess paper off with my 12 inch trimmer to make a clean cut. Add some more embellishments, a photo mat or picture and write with sticker letters “This is Us!”
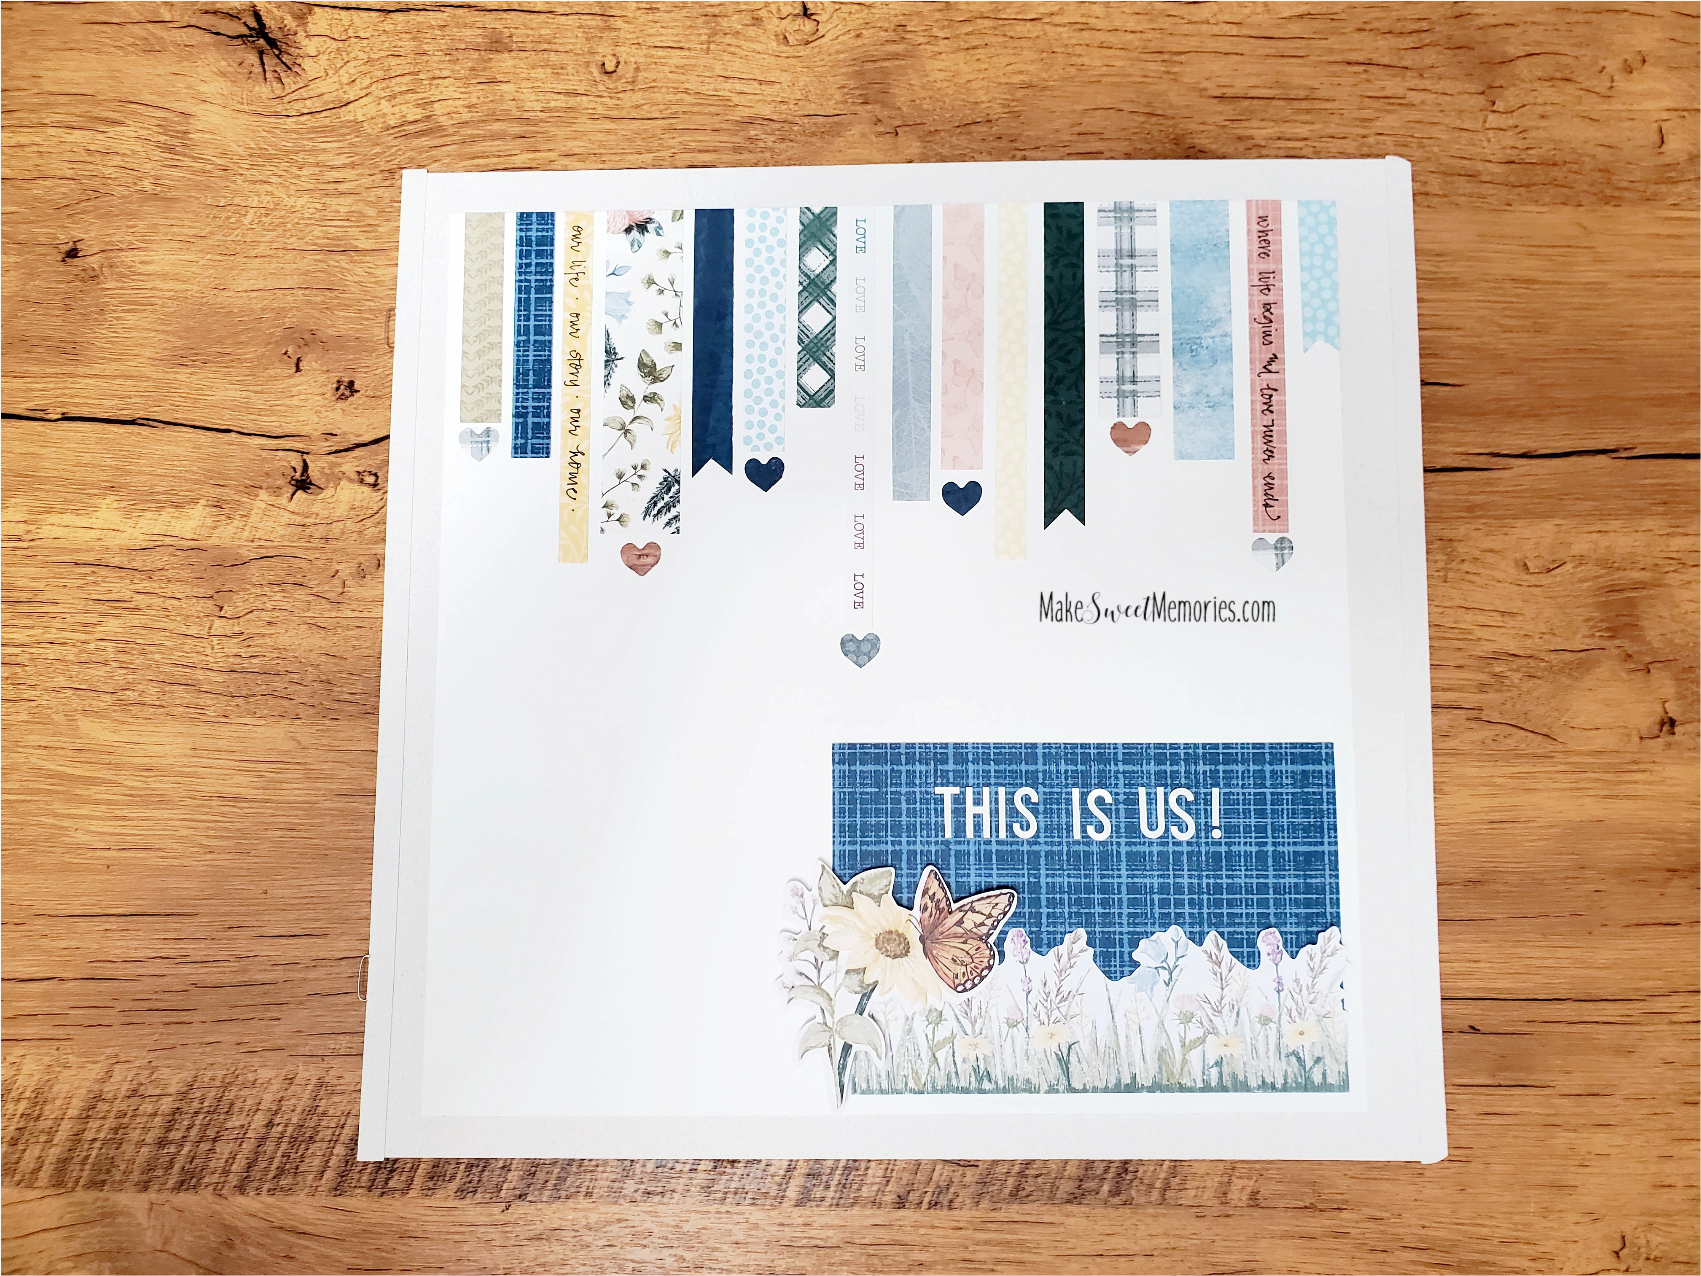
This page could be cute with a black and white photo, then put the ABC stickers above, below or to the side as you have room for it- but it also works without any photo at all. Enjoy!