Scrap SMART- Step 2: Gather everything in ONE place!
Go through your cupboards and closets and find all those photos and memorabilia and bring them to one location! Yes, you really need to do that! It is ideal to have a room that you can use and keep a table up during this process. It just makes organizing so much easier! If you don’t, you will need to put up a table and designate some time on a regular basis to work on this step.
When my kids were little, I did not have a room to spare. I chose Sundays to work on my photo projects. I would think about it EVERY Sunday. Often, I would give myself an hour to sort or journal…just to work on it for a few minutes refreshed me! I was doing something I loved to do- and rewarding myself with a gift of time. I sooooooo looked forward to it! I didn’t work on it every Sunday, but I sure thought about it each week! Just having that day set aside in my mind, helped me to progress on my projects. If you never decide WHEN you will work on it, it becomes just another project on a long list of things you “wish” you could do! DECIDE WHEN you will work! It makes all the difference!
Your work space!
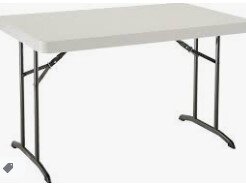
You will need space to work, to store paper, photos, memorabilia and tools! We are going to organize your paper, embellishments and tools! All of your photos and supplies need to “live” together from here on out. Find a closet, some shelves in your bedroom, a corner somewhere that you can gather your supplies, so you don’t waste time hunting for things all over the house. I used a folding 6 foot table for years to sort on. Determine where your space is and give yourself a bit of room to grow! When my kids were little and I just could not stop sorting, we would have “picnics” in the front room on a sheet and they could watch a movie while they ate dinner. They loved it and it gave me a few more hours on the kitchen table! (It can be hard to stop!) Now, I have a room dedicated to crafting with a table set up all the time. It makes a HUGE difference in what I get done. I love it! IF you have the space, do it!
My husband bought me a table from Lifetime that is 48 inches wide and 30 inches deep. That fit my space better than a longer table. I LOVE it! It is deep enough I can put a set of drawers with my pens and organizing units for my punches and bordermaker cartridges against the wall and still have room to work on my album. It’s a dream! You can order these tables online or pick one up at Sam’s or Costco that will fit your space. (Mine is Lifetime #80568 and we got it on Amazon.)
How to organize your scrapbook paper and embellishments?
Creative Memories Power Project Folders!
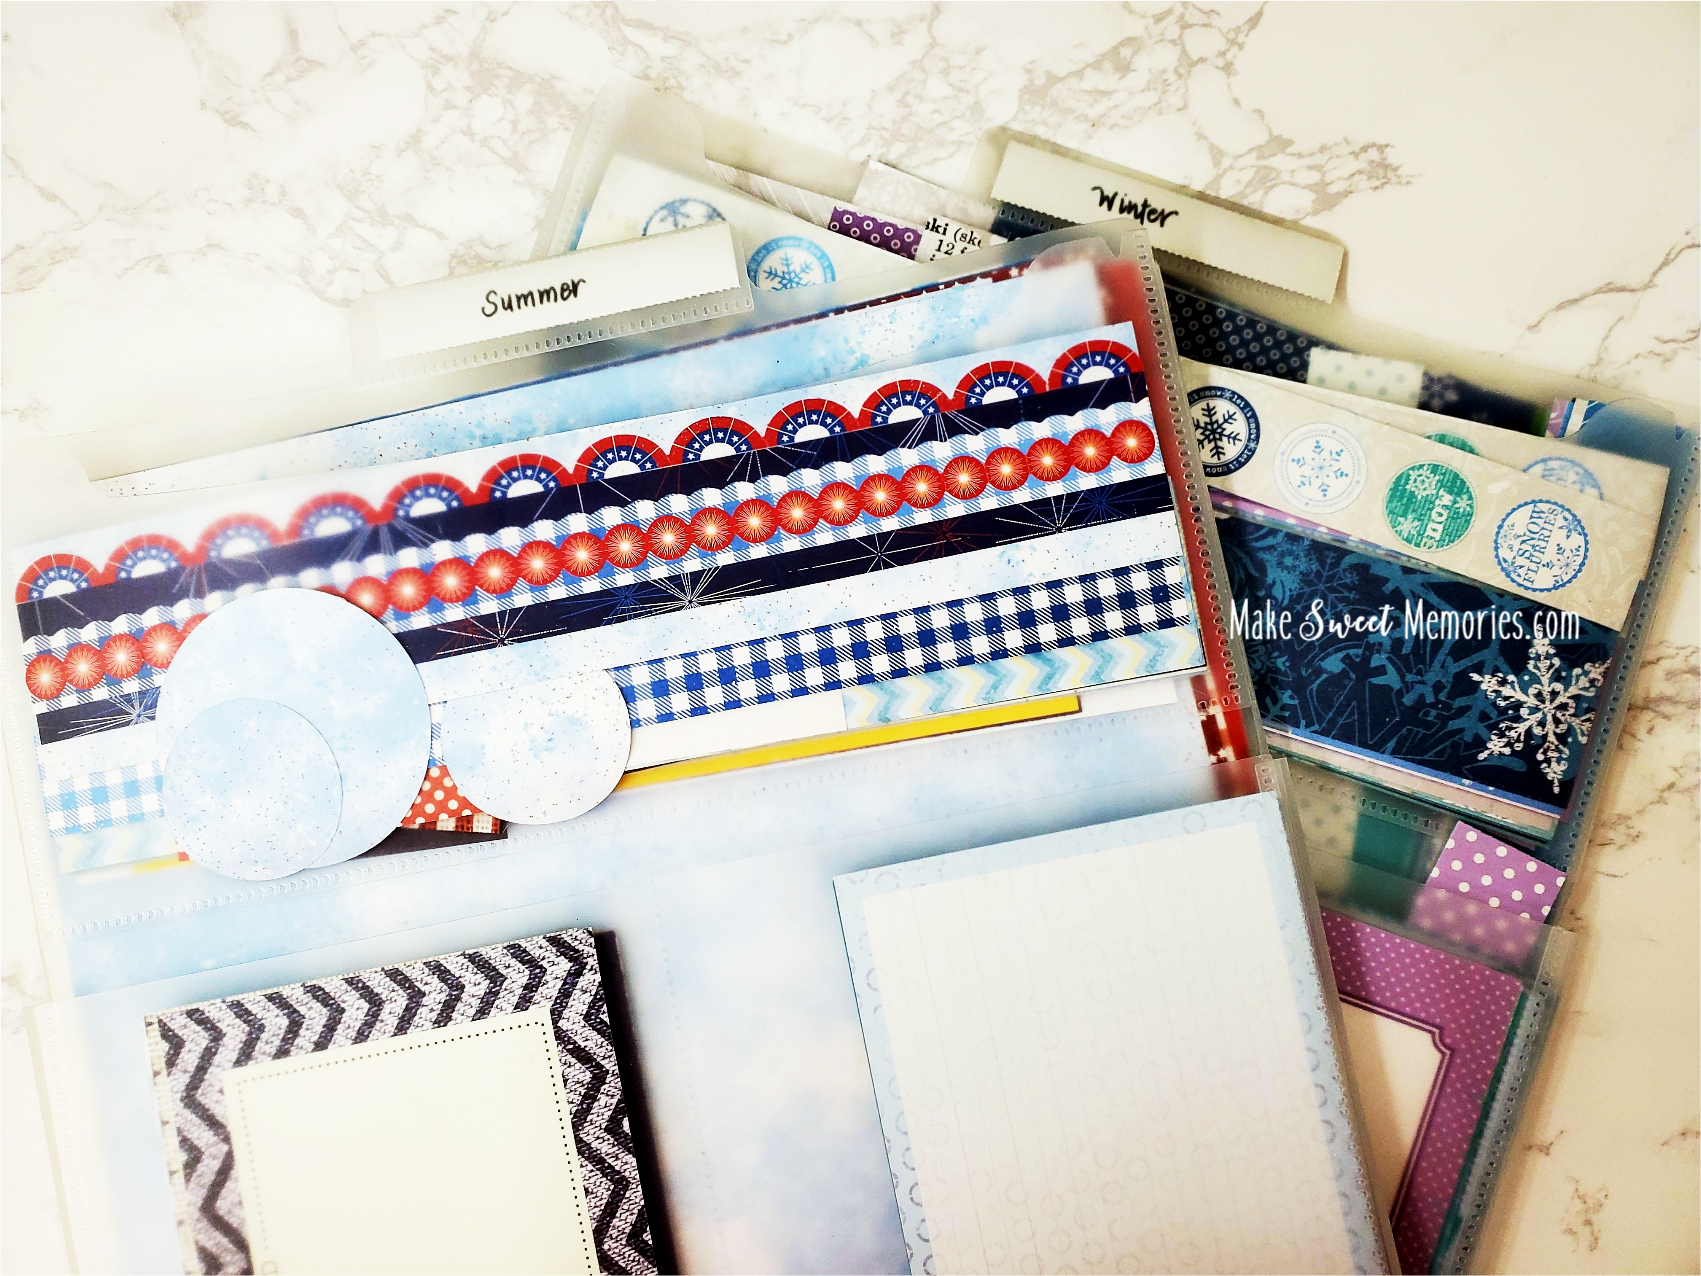
What is the best way to store scrapbook paper? I organize my paper and embellishments in Power Project folders by Creative Memories. If your scrapbook paper is all over, it’s time to get organized! I love them because they have a gusseted bottom, and can hold A LOT of 12x12 paper in one folder! They have pockets in the front and the back. There are three tabs at the top, and labels that come with them so you can write the name of your collection easily. The top horizontal pocket holds smaller scraps of paper so they don’t get lost in the shuffle, and any embellishments that complement the collection. The bottom right pocket holds journaling boxes and any 4x6 mats or pieces of paper I have on hand. This way, if I need a journal box I know right where to go to get it. The leftside pocket holds 4.5x6.5 pieces of paper or photo mats. This size is perfect for mounting a 4x6 photo that I have not trimmed at all. It makes for speedy layouts when you can find the size of paper you need right away! Creative Memories creates a variety mat pack for most collections and they coordinate beautifully. The back 2 pockets are vertical and hold the coordinating stickers and have another slot for borders or long strips so you can get to those easily. This keeps everything together and it’s fast to grab while I am working on my projects. If I am traveling to another location to scrapbook, I know I have the power project folders I need to take with me. They come four to a package and you can order yours here. (Just put Power Project folders in the search bar.)
How do you store 12x12 cardstock? I do organize my Power Project folders by THEME, SEASON and COLOR. I have been doing this for 30 years now and I have a lot of paper! I have a folder for each color of solids and prints. If you don’t have as much paper, you can fit BLUE solids and BLUE prints in one folder for example. I store them in rainbow order on my shelf. How to organize scrapbook paper scraps? Right in these folders! They are pretty to look at and easy to find if I need a small piece of paper or find a loose scrap that needs to be put away.
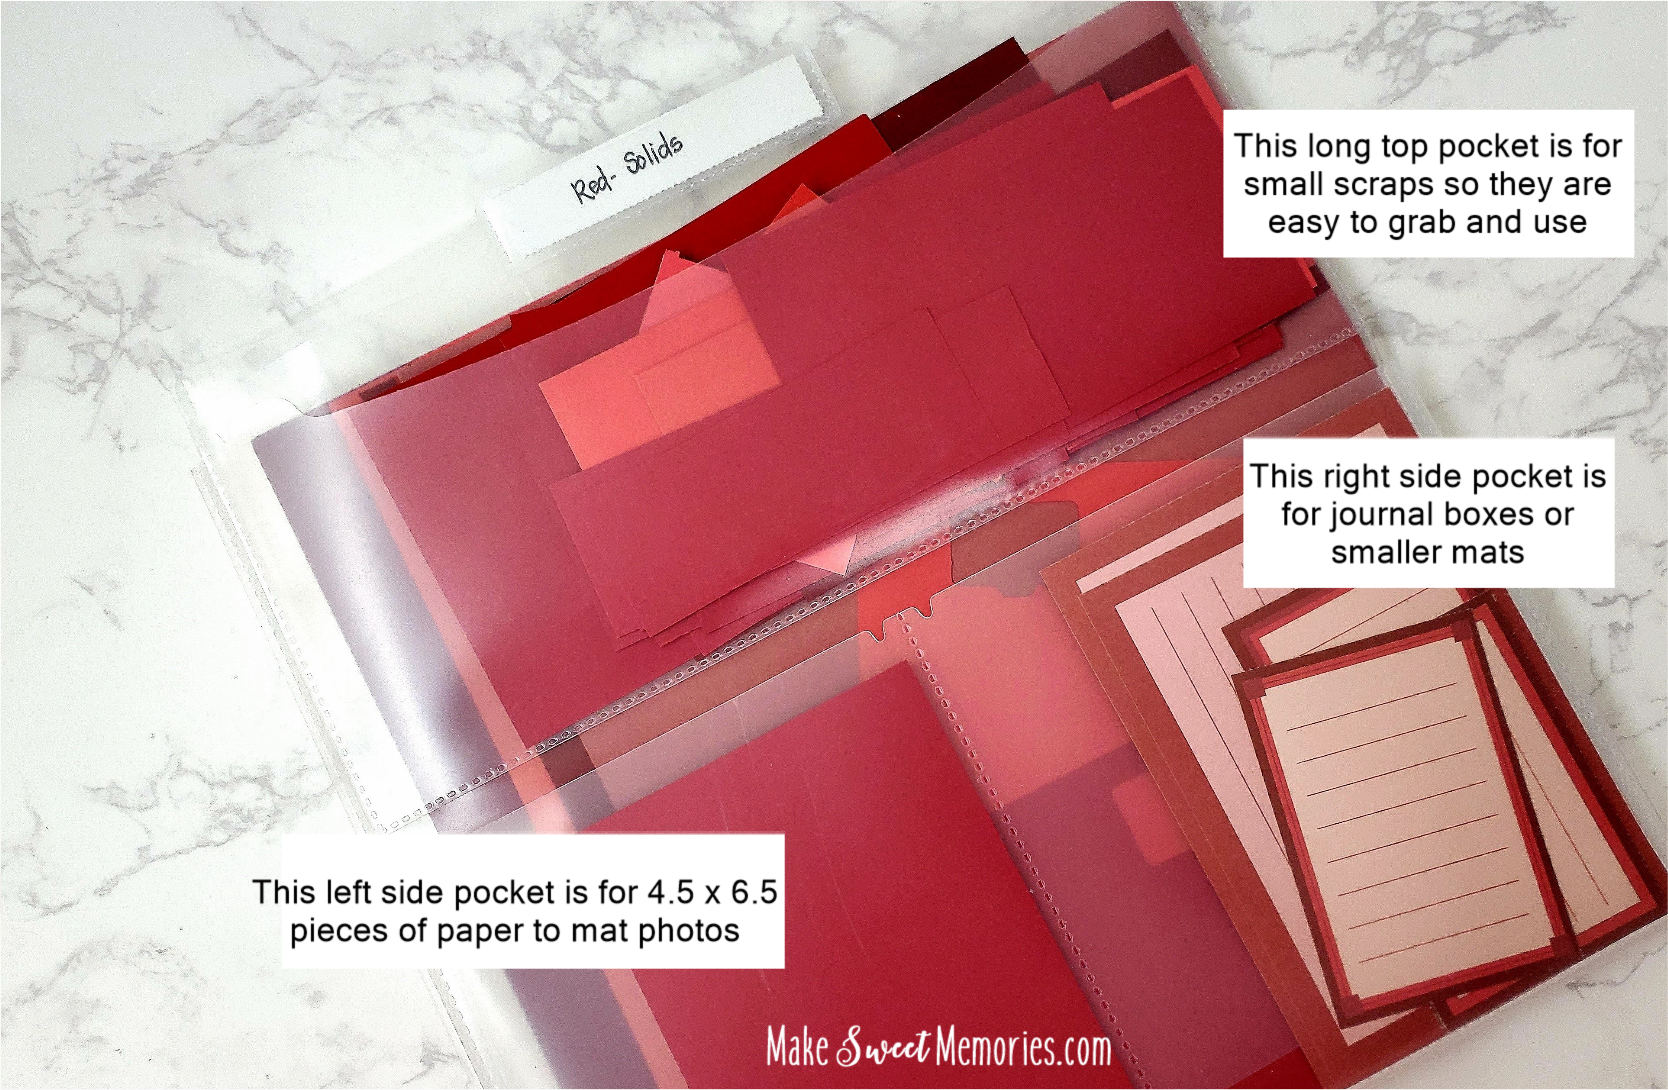
Front side of the Power Project Folder with 3 pockets, for scraps, embellishments- 4x6, 4.5x6.5
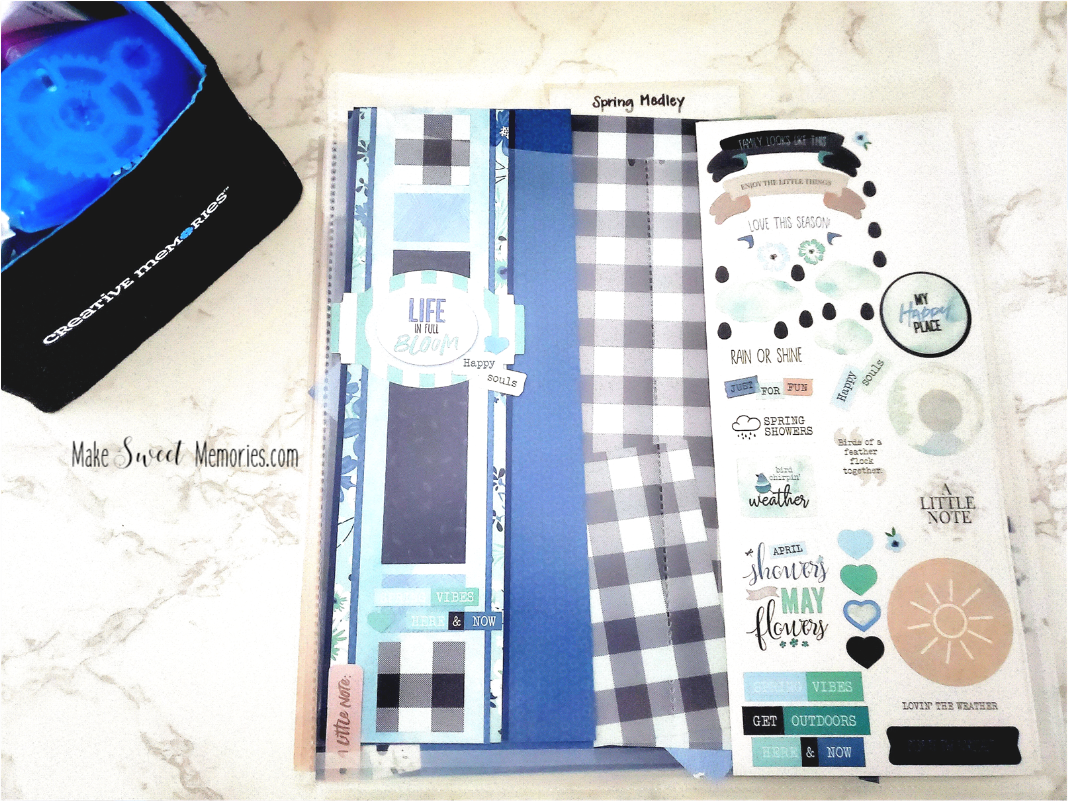
Back side of the Power Project Folder with 2 long vertical pockets for borders, stickers and long strips
Organizing Scrapbook Paper Categories!
These are the categories I use:
Purple Blue Green Yellow Orange Pink Red Cream/Brown White Gray Metallic Black Journaling
Then I have folders for each season: Winter, Spring, Summer and Fall. I group together pieces that fit into these categories. You may receive a special packet of embellishments for Croptoberfest or National Scrapbook Day- this is where I put those! Any “loose” pieces that can be grouped. When there is a large collection and I love everything about it, it gets its own folder. (For more information on organizing your scrapbook paper, see my blogpost on Craft Room Organization: Organizing your paper)

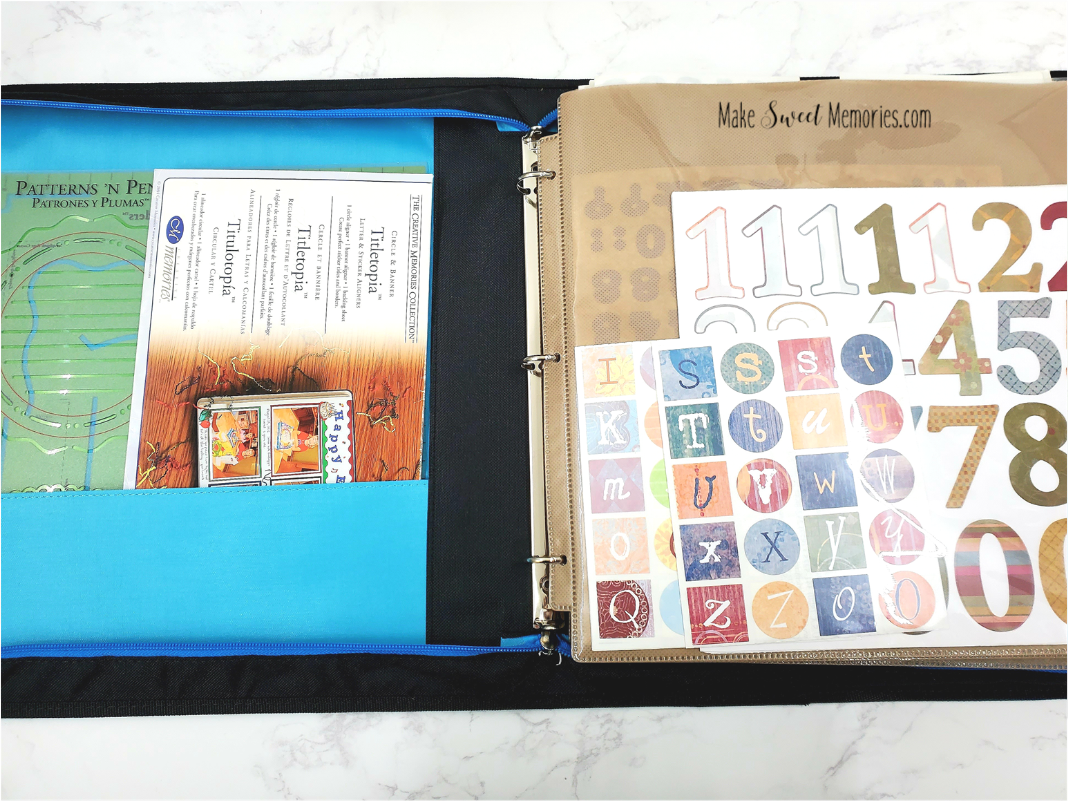
Sort and Stash Binder
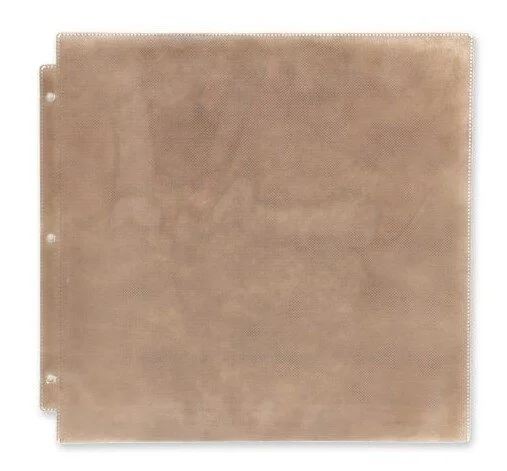
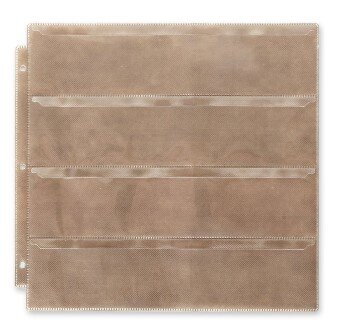
Another option is a new organizer Creative Memories offers called the Sort and Stash Binder. This works well to group products and store it all in one place. This binder has 3 different types of sleeves you can use to fill it. It comes with one of each size, so you can see how they work for you. One is a full 12x12 pocket, one is a 5.5 pocket with four pockets on each side, front and back, and one is a 2.5x12 inch pocket that can hold borders, laser borders and longer embellishments. You can put your book together in any way that works for you- its completely customizable!
What do you have that you want to organize?
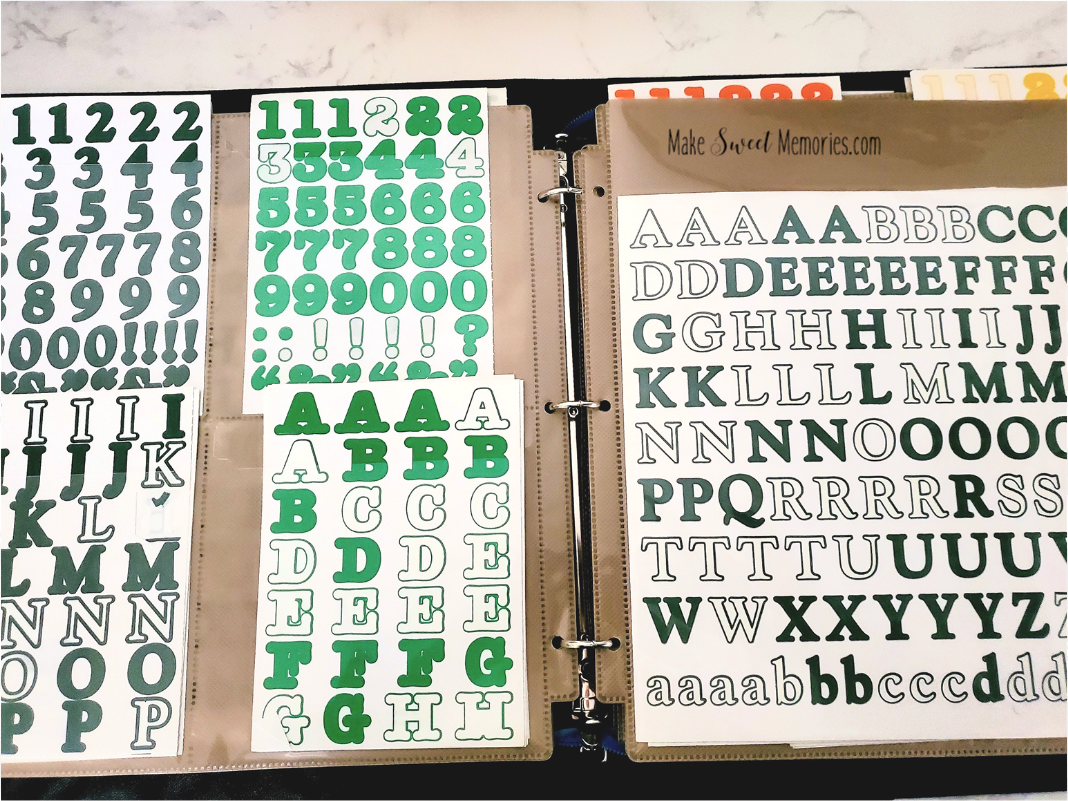
When I thought about it, the one thing I had a lot of, that I could not see well, were my ABC sticker letters. I had several sizes, fonts and colors. But I wasn’t EXACTLY sure of what I had because I could not see it! I LOVE my scrapbook papers and embellishments organized in the Power Project folders and my ABC stash in this binder. When you can SEE what you have, you know and use it! I am such a visual girl! Out of sight, out of mind! I want to use what I have! When there is a simple system in place, you know EXACTLY where to go, to find what you need. This helps you progress on your album projects and is a more effective use of time. You can fill this binder to 2 inches and mine was right there! (For more info, look on my Facebook page for the video I did on the Sort and Stash Binder.)


How to organize scrapbook tools?
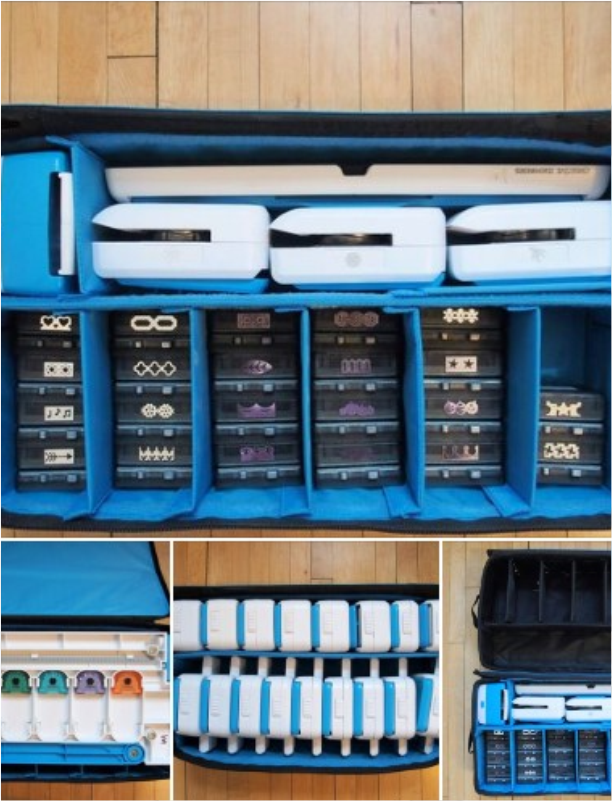
I have a couple different ways to store my tools. One is the Creative Memories Tools Organizer. You want to keep your tools in the same place so they are easy to access and put away. They need a “home” too. You can fill it with whatever you need and it is stackable! You can label the contents with the tag in front and have multiples of this! You can store punches, bordermaker system and cartridges, adhesives,pens, whatever you want inside! It has velcro attachments that you can place where needed to divide your tools. You can even flip your 12 inch trimmer upside down and lay it on top! It ALL fits! Fabuloso! You can purchase it here. This is a convenient way to travel with tools AND store at home.
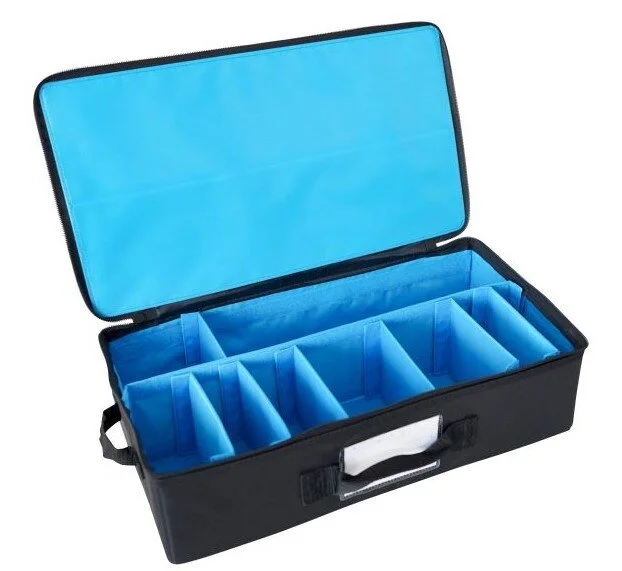
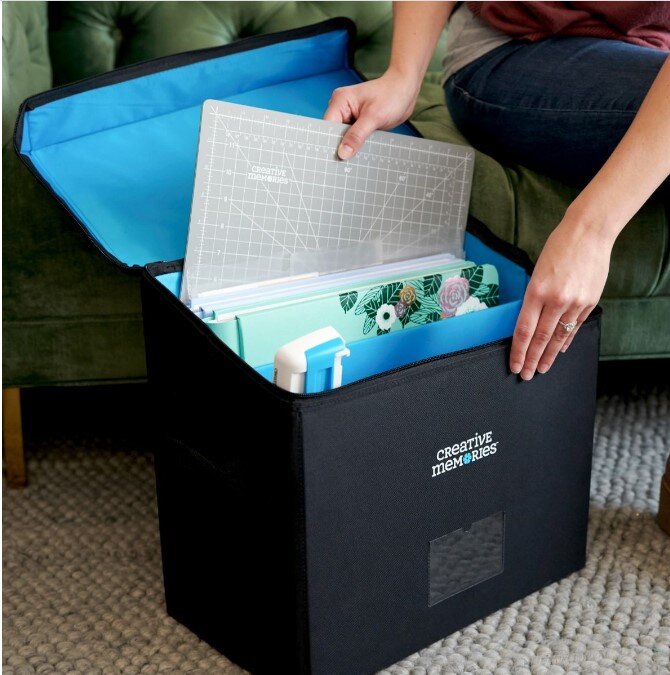
Another great organizer is the Storage and Display Tote. This is perfect for your album and refill pages and to store tools or when you need to travel to another location to scrap. You can also use it to sort your memorabilia as it has two sections. I have two of these and right now they have memorabilia in them for the albums I am working on. When I have completed those albums, I will re-use for memorabilia or use them when I am taking my products somewhere else. They have a nice zipped sturdy top and can be stacked as well, if you need to slip them in a closet. LOVE these! You can purchase it here.
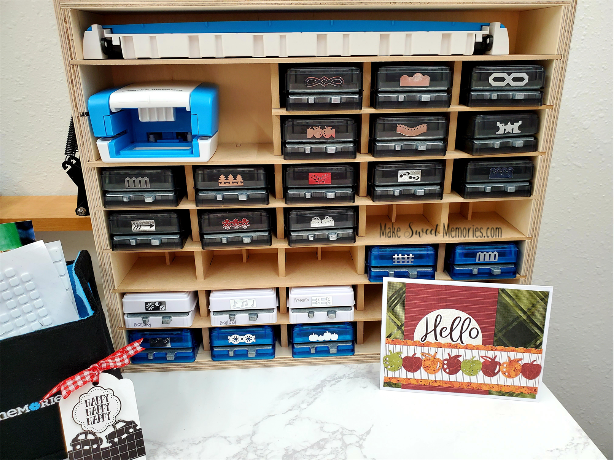
Now that I have a designated craft room, I have storage units that I love too! They are from Stamp-n-Storage and house the tools I use often. I love them because they are right near my workspace and can easily be seen, used and returned to their “home”. This makes such a difference when you are cleaning up! You can see what they offer by clicking on the SHOP tab above and then Stamp-n-Storage or on the link below. Here is one unit that I have for my Bordermaker cartridges. They are sturdy and made from birch wood and are designed JUST TO FIT our Bordermaker cartridges and punches! LOVE that! You can purchase yours here.
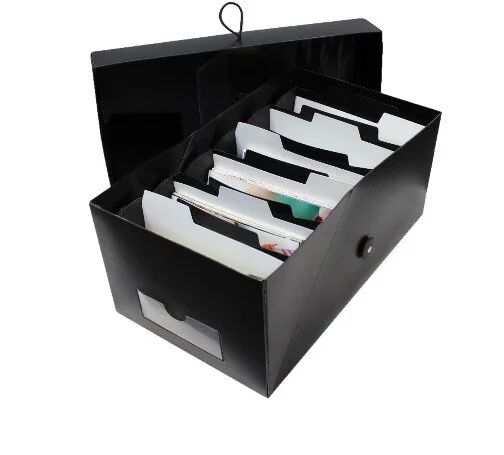
How to organize your printed photos?
This really needs its own category! You could be organizing hundreds and thousands of photos! Just gather them together and we will work on that in Step 5! I do use Power Sort Boxes from Creative Memories to sort. You can purchase them here. We will work on organizing memorabilia in Step 6. Don’t worry about that yet- just get everything together and take a look at the organizers. I will take you through this step by step. Just complete Step 2 of gathering everything in one place, organizing your paper and tools before we move on to Step 3.